Now I adapted the recipe to suit my family size and what was in my pantry.....
so this is my version.....
4 lamb leg chops bone in.....
a really big lug of garlic oil ( nigella says 3 x 15 ml )
4 potatoes suitable for baking cut into large chunks
2 tsp dried mint
1tsp dried chilli flakes
zest of 1 lemon
juice of 2 lemons
good grounding of sea salt
sprinkle of fresh flat leaf Parsley
Preheat oven to 200, cut the chops into 3 even sized chunks, potatoes into chunks added the herbs into a cast iron pot, mixed together with herbs, lemon zest give it a good toss then put into the oven for at least an hour.....11/2 if the chops are large...
now I put mine in for 1 hour and 15 minutes..... the smell was amazing from about 15 minutes into cooking.... I found this to be an absolutely easy after work dinner!!!! When I pulled it out of the oven I panicked becaue it look over cooked and a little dry, but boy was I wrong!!!! It was a delicious dinner, eaten with gutso by everyone!!!!! we all loved it, it was one of those lick the plate kind of dinners!!!! Nigella recommends crusty bread... hmmmmm I definately won't leave that out next time!

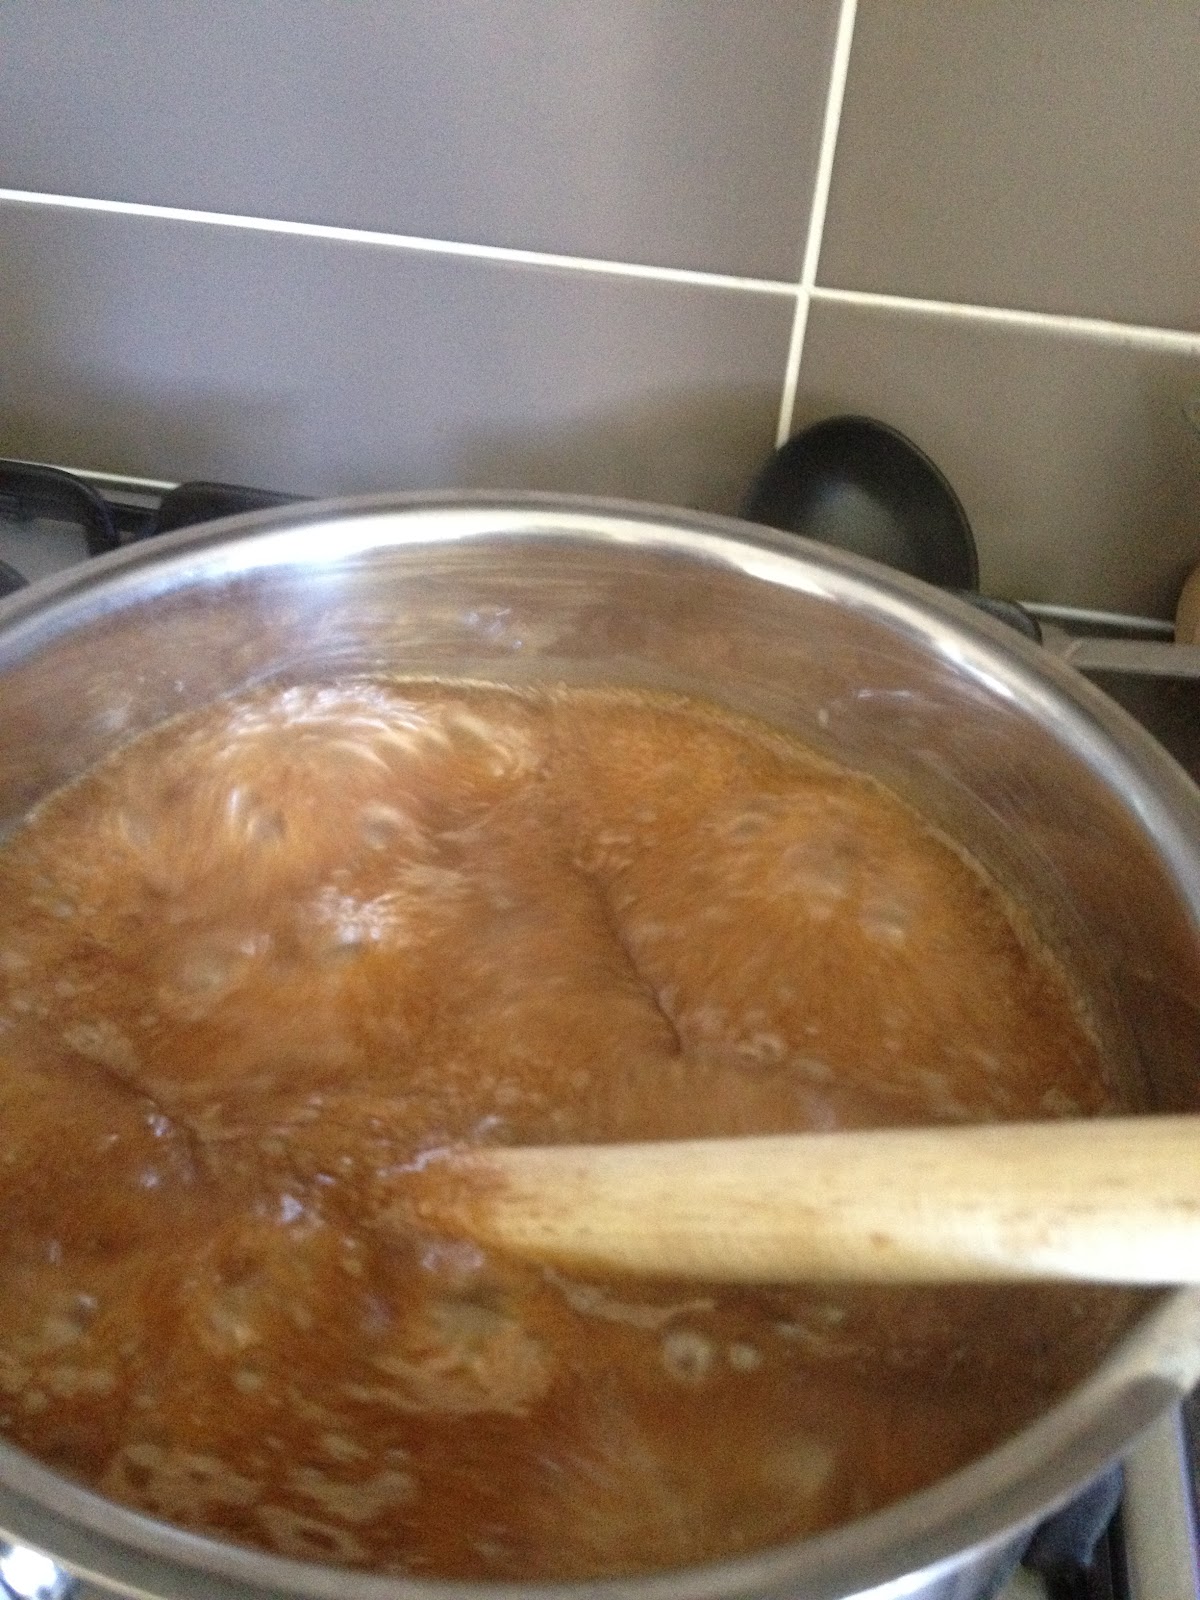
before......
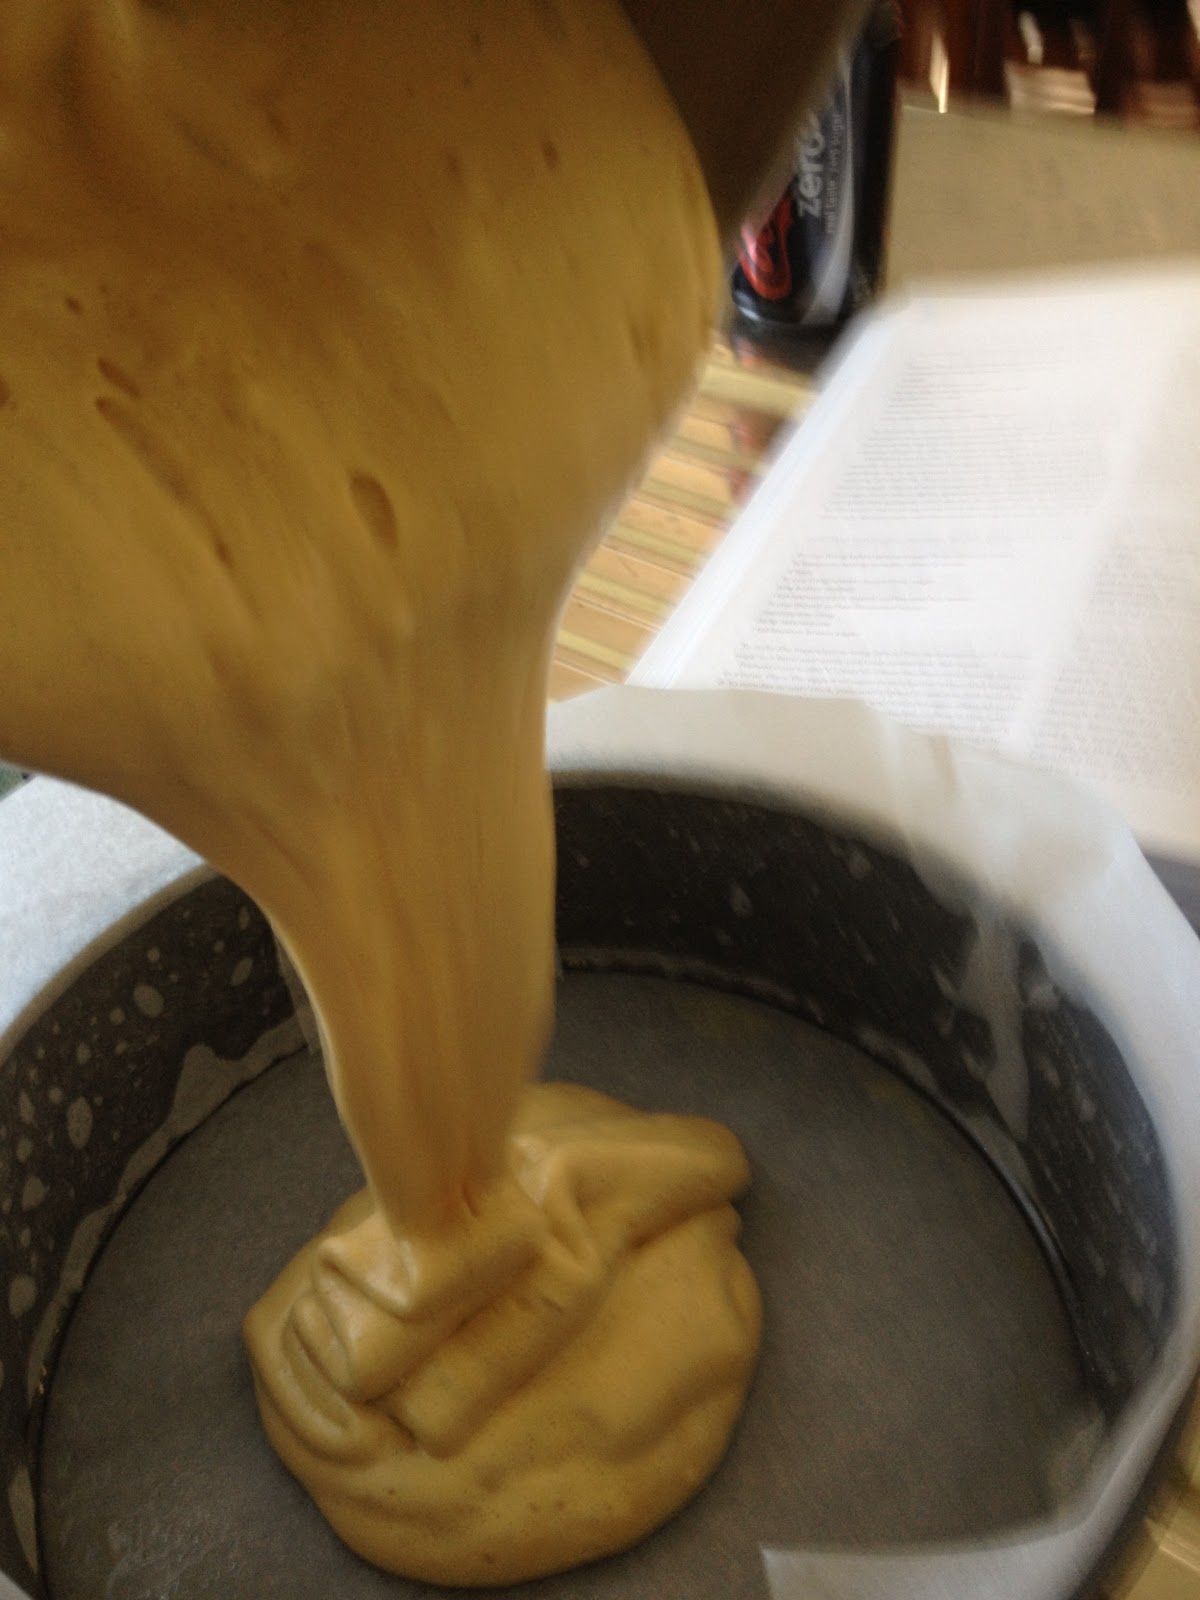
AFTER.......


I served it with a very sad greek salad......hmmmmm must shop!!!!! This honestly was sooo tasty.... if you like rare Lamb I would cook the potatoes for 30 mins then add lamb and that would be divine... you will have to play with it obviously!!!
happy cooking xx